How to setup Contact Form with Netlify Hosting
In this article, we will show you how you can setup a working contact form with Web3Forms and deploy to Netlify Hosting. We will also explain why Web3Forms is a great alternative to Netlify's default form service.
Netlify Forms vs Web3Forms
Netlify has its own service for form submissions. But, there are some limitations. Check the following table to see why you should choose Web3Forms as a great alternative to Netlify Forms.
Free plan
| Netlify | Web3Forms |
|---|---|
| ❌ 100 submissions / month | ✔ 250 submissions / month |
| ❌ Single Form | ✔ Unlimited Forms |
| ❌ Single Domain | ✔ Unlimited Domains |
| ❌ Cannot use outside their platform | ✔ Can use anywhere |
| ❌ Netlify Account Required | ✔ Free Web3Forms account |
Paid Plan (Pro)
| Netlify | Web3Forms |
|---|---|
| ❌ $19 per month | ✔ $12 per month |
| ❌ 1,000 submissions | ✔ 10k Submissions |
| ❌ Single Form | ✔ Unlimited Forms |
| ❌ Single Domain | ✔ Unlimited Domains |
| - | ✔ Advanced Spam Protection |
| - | ✔ Recaptcha v3 Integration |
| - | ✔ 3rd Party Integrations & Webhooks |
Adding Email Contact Forms to Netlify using Web3Forms
Now, lets move to create our app. Its so simple, using Web3Forms, Here, an index.html is more than enough!
So, now lets create an index.html file and add some contents to it. Here is how a basic html file looks like:
<!DOCTYPE html>
<html lang="en">
  <head>
    <meta charset="UTF-8" />
    <meta name="viewport" content="width=device-width, initial-scale=1.0" />
    <title>Web3Forms Contact Form</title>
  </head>
  <body>
    <!-- Form goes here -->
  </body>
</html>
Now, Create your form. First, you should create a <form> tag with method as POST and action as https://api.web3forms.com/. See the example 👇
<form action="https://api.web3forms.com/submit" method="POST"></form>
Inside the form, you should create an input with type hidden for the Access Key. Replace YOUR_ACCESS_KEY_HERE with your actual access key received in your email. This is mandatory.
<input type="hidden" name="access_key" value="YOUR_ACCESS_KEY_HERE" />
You can also add many other configuration similarly. Please Visit our Docs to see more details.
After, configuring, you can add regular form inputs for email, phone, message etc. Here is how the page looks once added basic form elements.
<!DOCTYPE html>
<html lang="en">

<head>
    <meta charset="UTF-8" />
    <meta name="viewport" content="width=device-width, initial-scale=1.0" />
    <title>Web3Forms Contact Form</title>
</head>

<body>

    <form action="https://api.web3forms.com/submit" method="POST" id="form">
        <input type="hidden" name="access_key" value="YOUR_ACCESS_KEy_HERE" />
        <input type="hidden" name="subject" value="New Submission from Web3Forms" />
        <input type="hidden" name="redirect" value="https://web3forms.com/success" />
        <input type="checkbox" name="botcheck" id="" style="display: none" />
        <div>
            <label for="name">Full Name</label>
            <input type="text" name="name" id="name" placeholder="John Doe" required />
        </div>
        <div>
            <label for="email">Email Address</label>
            <input type="email" name="email" id="email" placeholder="[email protected]" required />
        </div>
        <div>
            <label for="message">Your Message</label>
            <textarea rows="5" name="message" id="message" placeholder="Your Message" required></textarea>
        </div>
        <button type="submit">
            Send Message
        </button>
    </form>

</body>

</html>
Deploying to Netlify
Now, here come the final step. Deploying our app to netlify, it is super easy, Connect your project using git or upload the files directly using Netlify Drop. For this example, we will be using Drop, but we recommend to use git deployments.
Once you added the project, it will be available on your dashboard along with a link to preview.
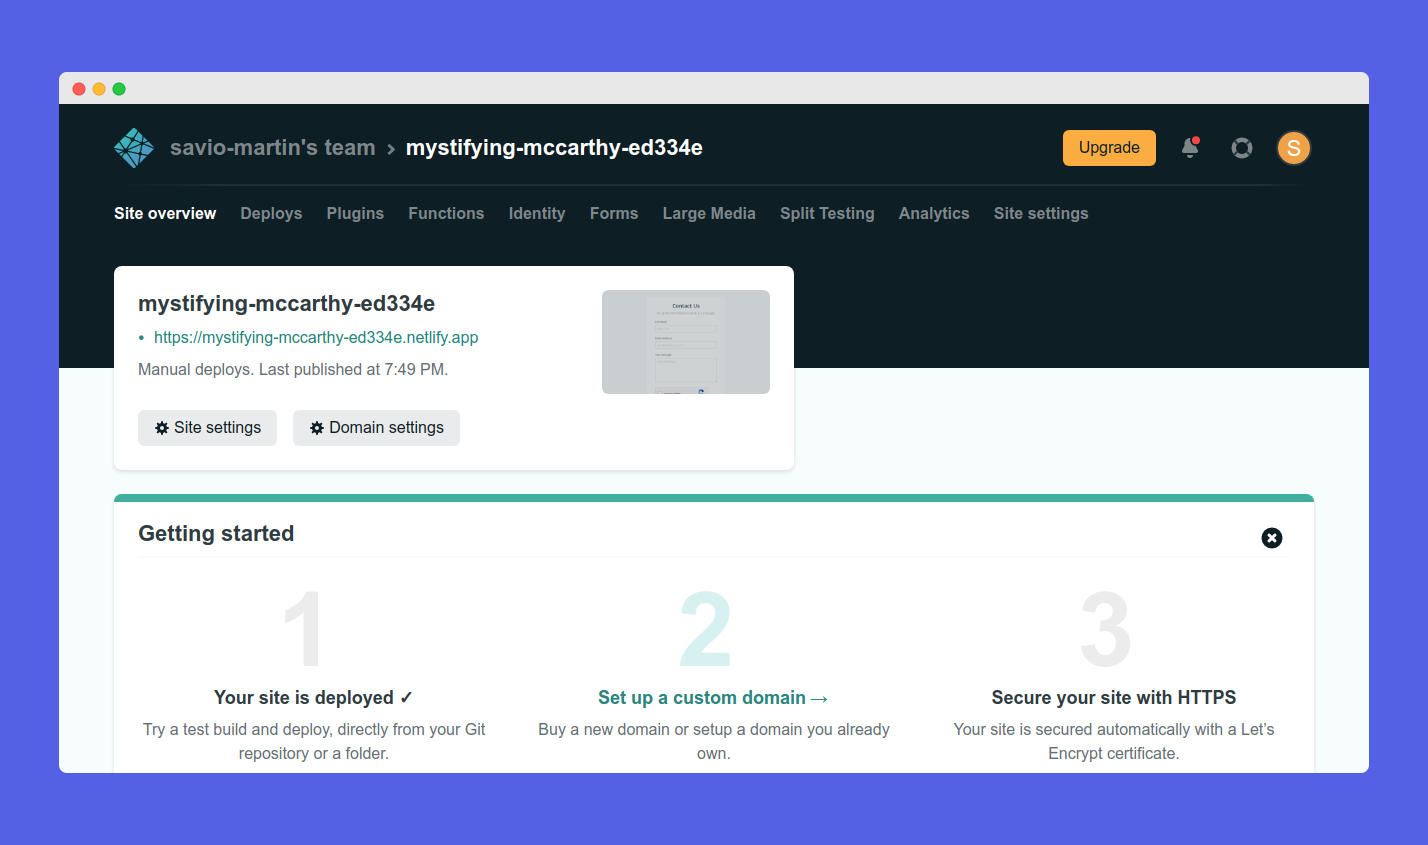
That's it! You can now see the live demo by clicking the link. Now test your form by clicking the submit button on your form.
🙌 Wrapping Up
That's it, creating a working contact form never been easier. But you can do more with Web3Forms. Please check the other articles and our docs for more info and customization options such as sending requests using ajax and more.