How to setup a Working Contact Form for JAMstack Websites using API
Setting up forms can be pain. But JAMStack makes it easier using contact form API. In this article, let's dive in to jamstack contact forms and learn how to integrate it easily into your projects.
Setting up the contact form
First, you need to setup the contact form. In this example, I'm going to use plain HTML, but in reality, you will be writing for your framework. It could be React, Vue etc. Also check out some Form Templates
<form action="" method="POST">

    <input type="text" name="name" required>
    <input type="email" name="email" required>
    <input type="number" name="phone" required>
    <textarea name="message" required></textarea>

    <button type="submit">Submit Form</button>

</form>
Now we have a basic contact form ready, let's connect this with a contact form API in the next step.
Contact form API
In this step, we will be connecting the above form with a contact form API service. We will be using Web3Forms as our API service because it's fast and has a generous free plan. Also the setup is quick and painless.
Create an Access key
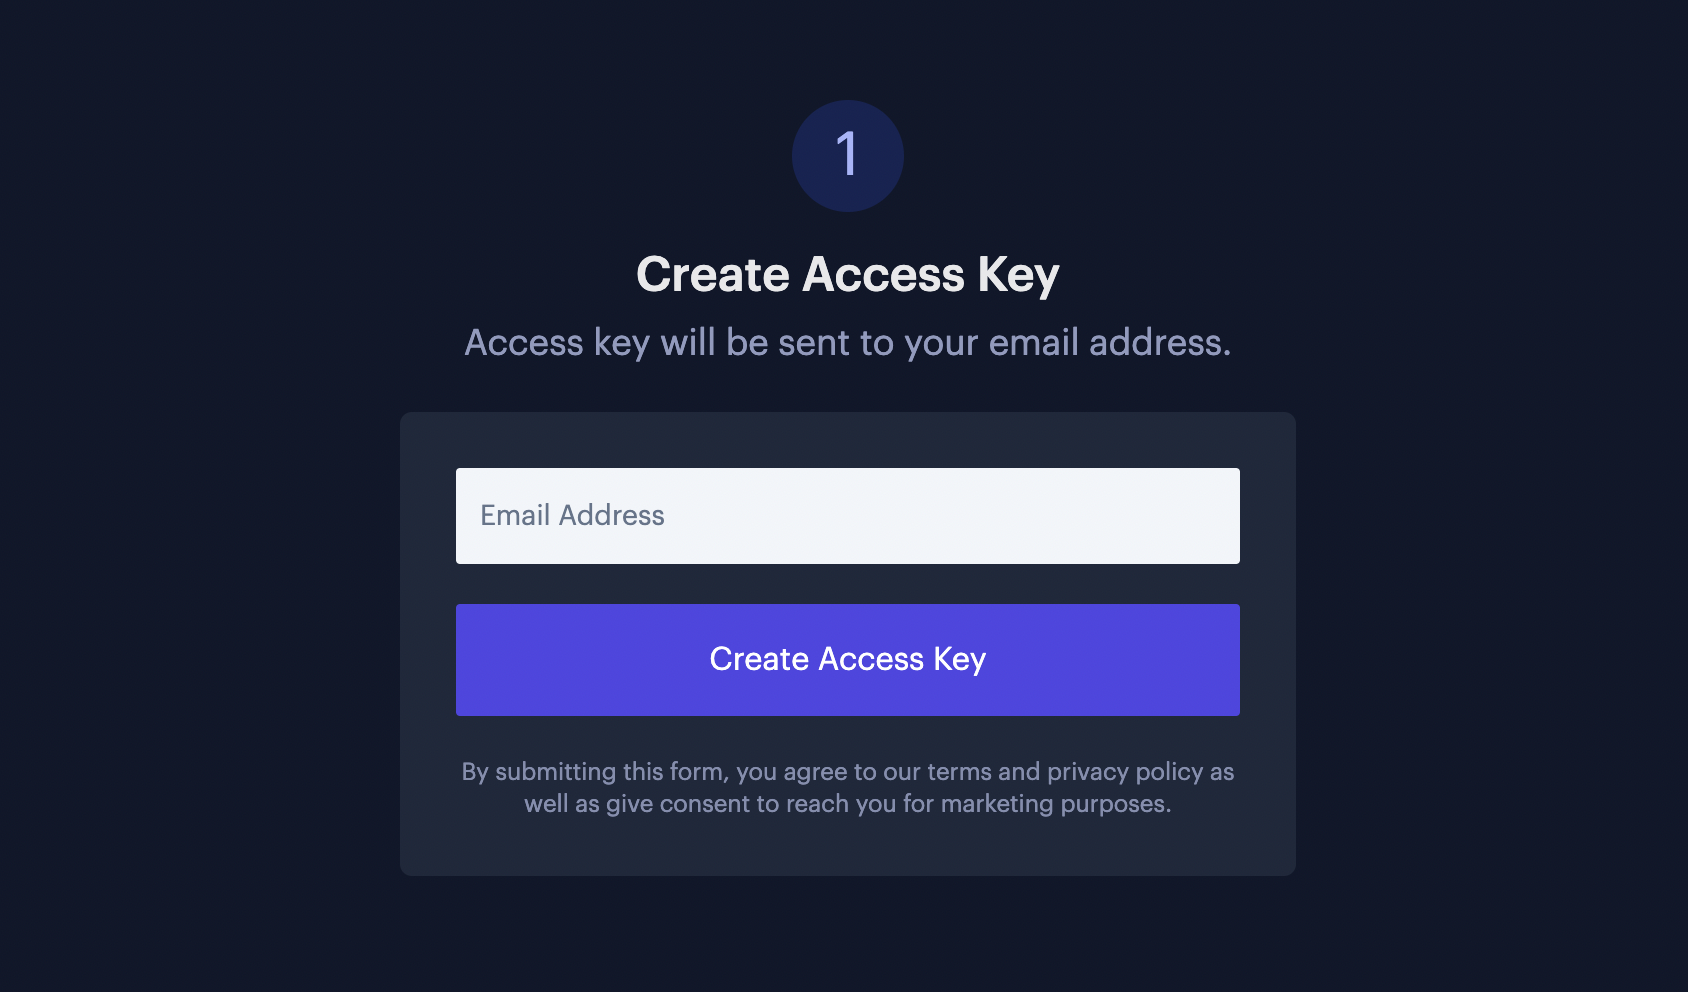
First, go to https://web3forms.com and click on the "Create your Access Key" button and enter your email and submit the form. The form will look like this:
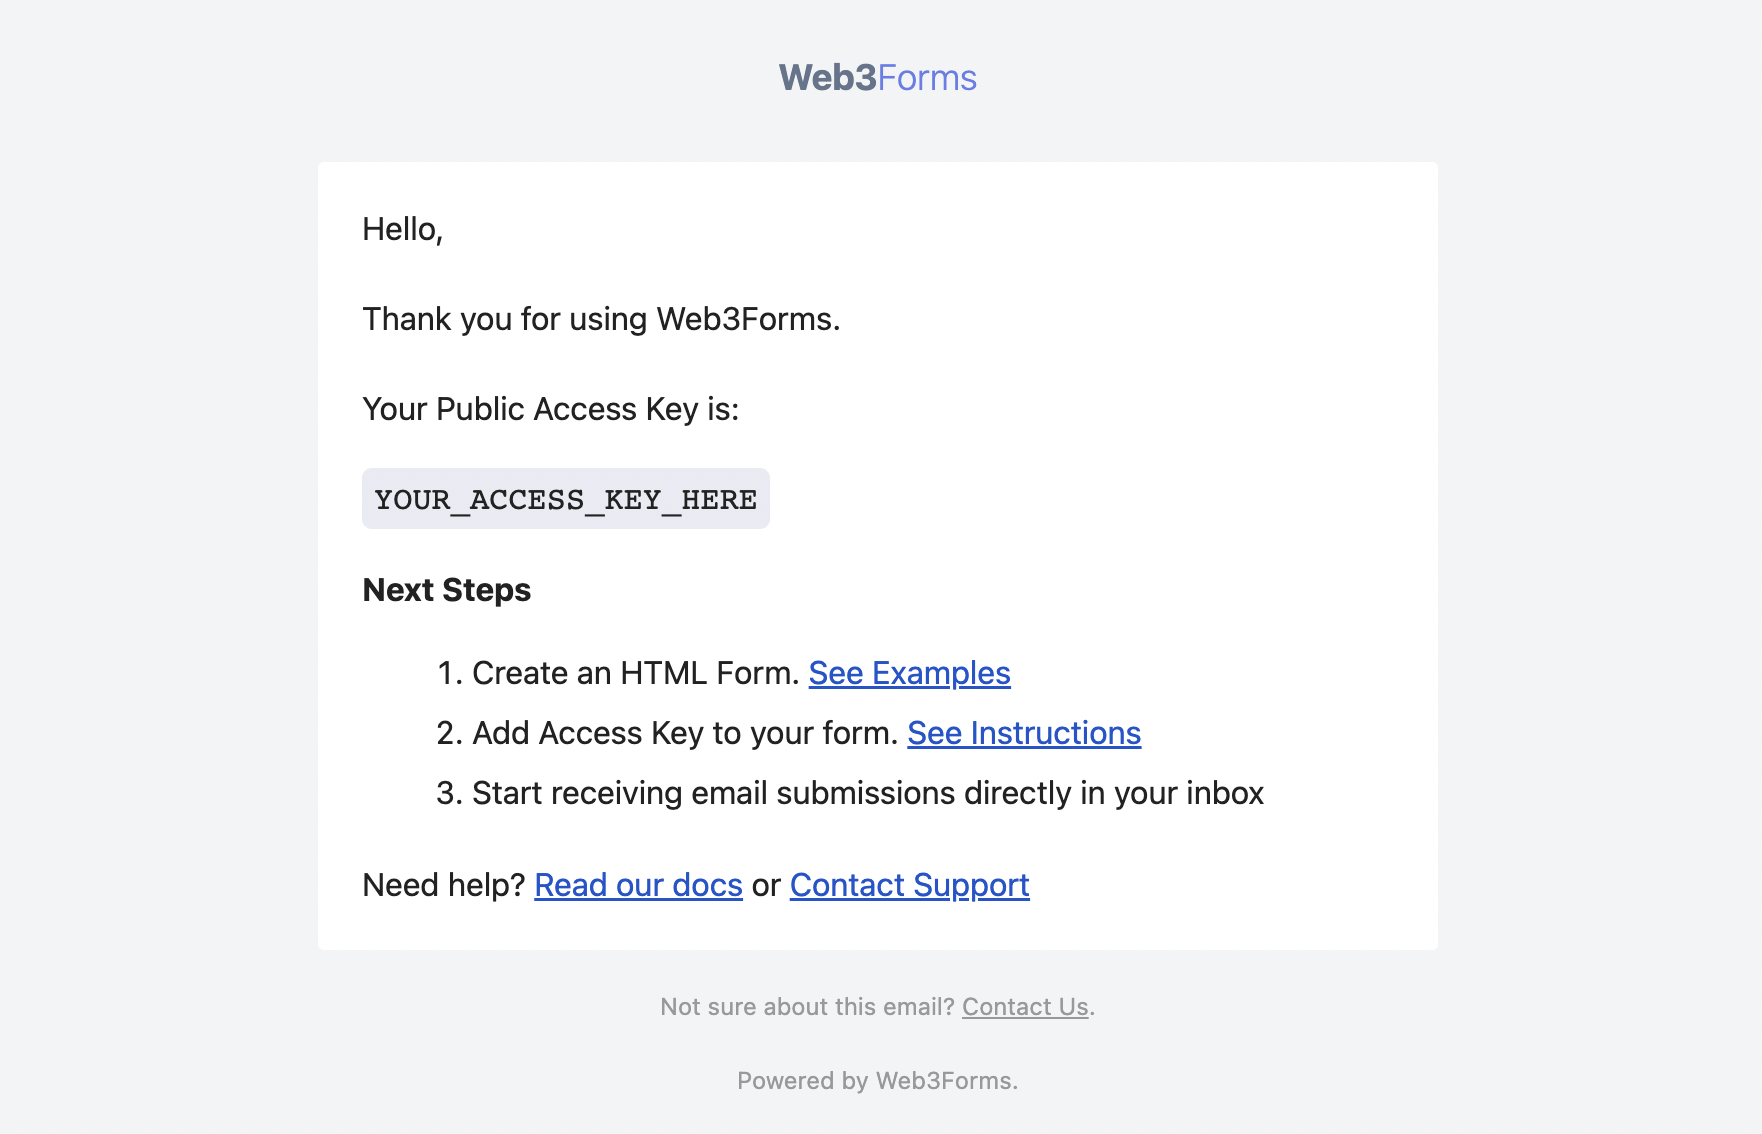
Now, you will receive an email with the access key in your inbox. Please check Promotions or Updates tab as well. The email will look like this:
Connect contact form with API
Once you received the access key, let's connect that with your form. First, Let's add a form action URL as described in Web3Forms Documentation
<form action="https://api.web3forms.com/submit" method="POST">
Now, add the access key inside the form as a hidden field. Make sure the input name is access_key. This is used by Web3Forms to send email to your address. Here's how it would look like:
<input type="hidden" name="access_key" value="YOUR_ACCESS_KEY_HERE">
Customizing Web3Forms
Now, our basic stuff is ready for submission, let's go further and make some modifications provided by Web3Forms. Each settings can be added as shown below.
Custom Redirection after form submission
<input type="hidden" name="redirect" value="https://web3forms.com/success">
Customize Email Subject
<input type="hidden" name="subject" value="New Submission from Web3Forms">
Add CC Emails (Pro)
<!-- SINGLE -->
<input type="hidden" name="ccemail" value="[email protected]">
<!-- OR MULTIPLE -->
<input type="hidden" name="ccemail" value="[email protected]; [email protected]">
Send form data to Webhook (Pro)
<input type="hidden" name="webhook" value="https://webhook.site/xxxxx-xxx-xxxxx" />
And more...
Web3Forms provides more customizations like adding reCaptcha, hCaptcha, File Attachments and more.. Make sure you check out the documentation for more customization options & example code samples.
Testing our form
Now that our form is ready, let's test it. Here's the full code:
<form action="https://api.web3forms.com/submit" method="POST">

    <input type="hidden" name="access_key" value="YOUR_ACCESS_KEY_HERE">
    <input type="hidden" name="subject" value="New Submission from Web3Forms">
    <input type="hidden" name="redirect" value="https://web3forms.com/success">

    <input type="text" name="name" required>
    <input type="email" name="email" required>
    <input type="number" name="phone" required>
    <textarea name="message" required></textarea>

    <button type="submit">Submit Form</button>

</form>
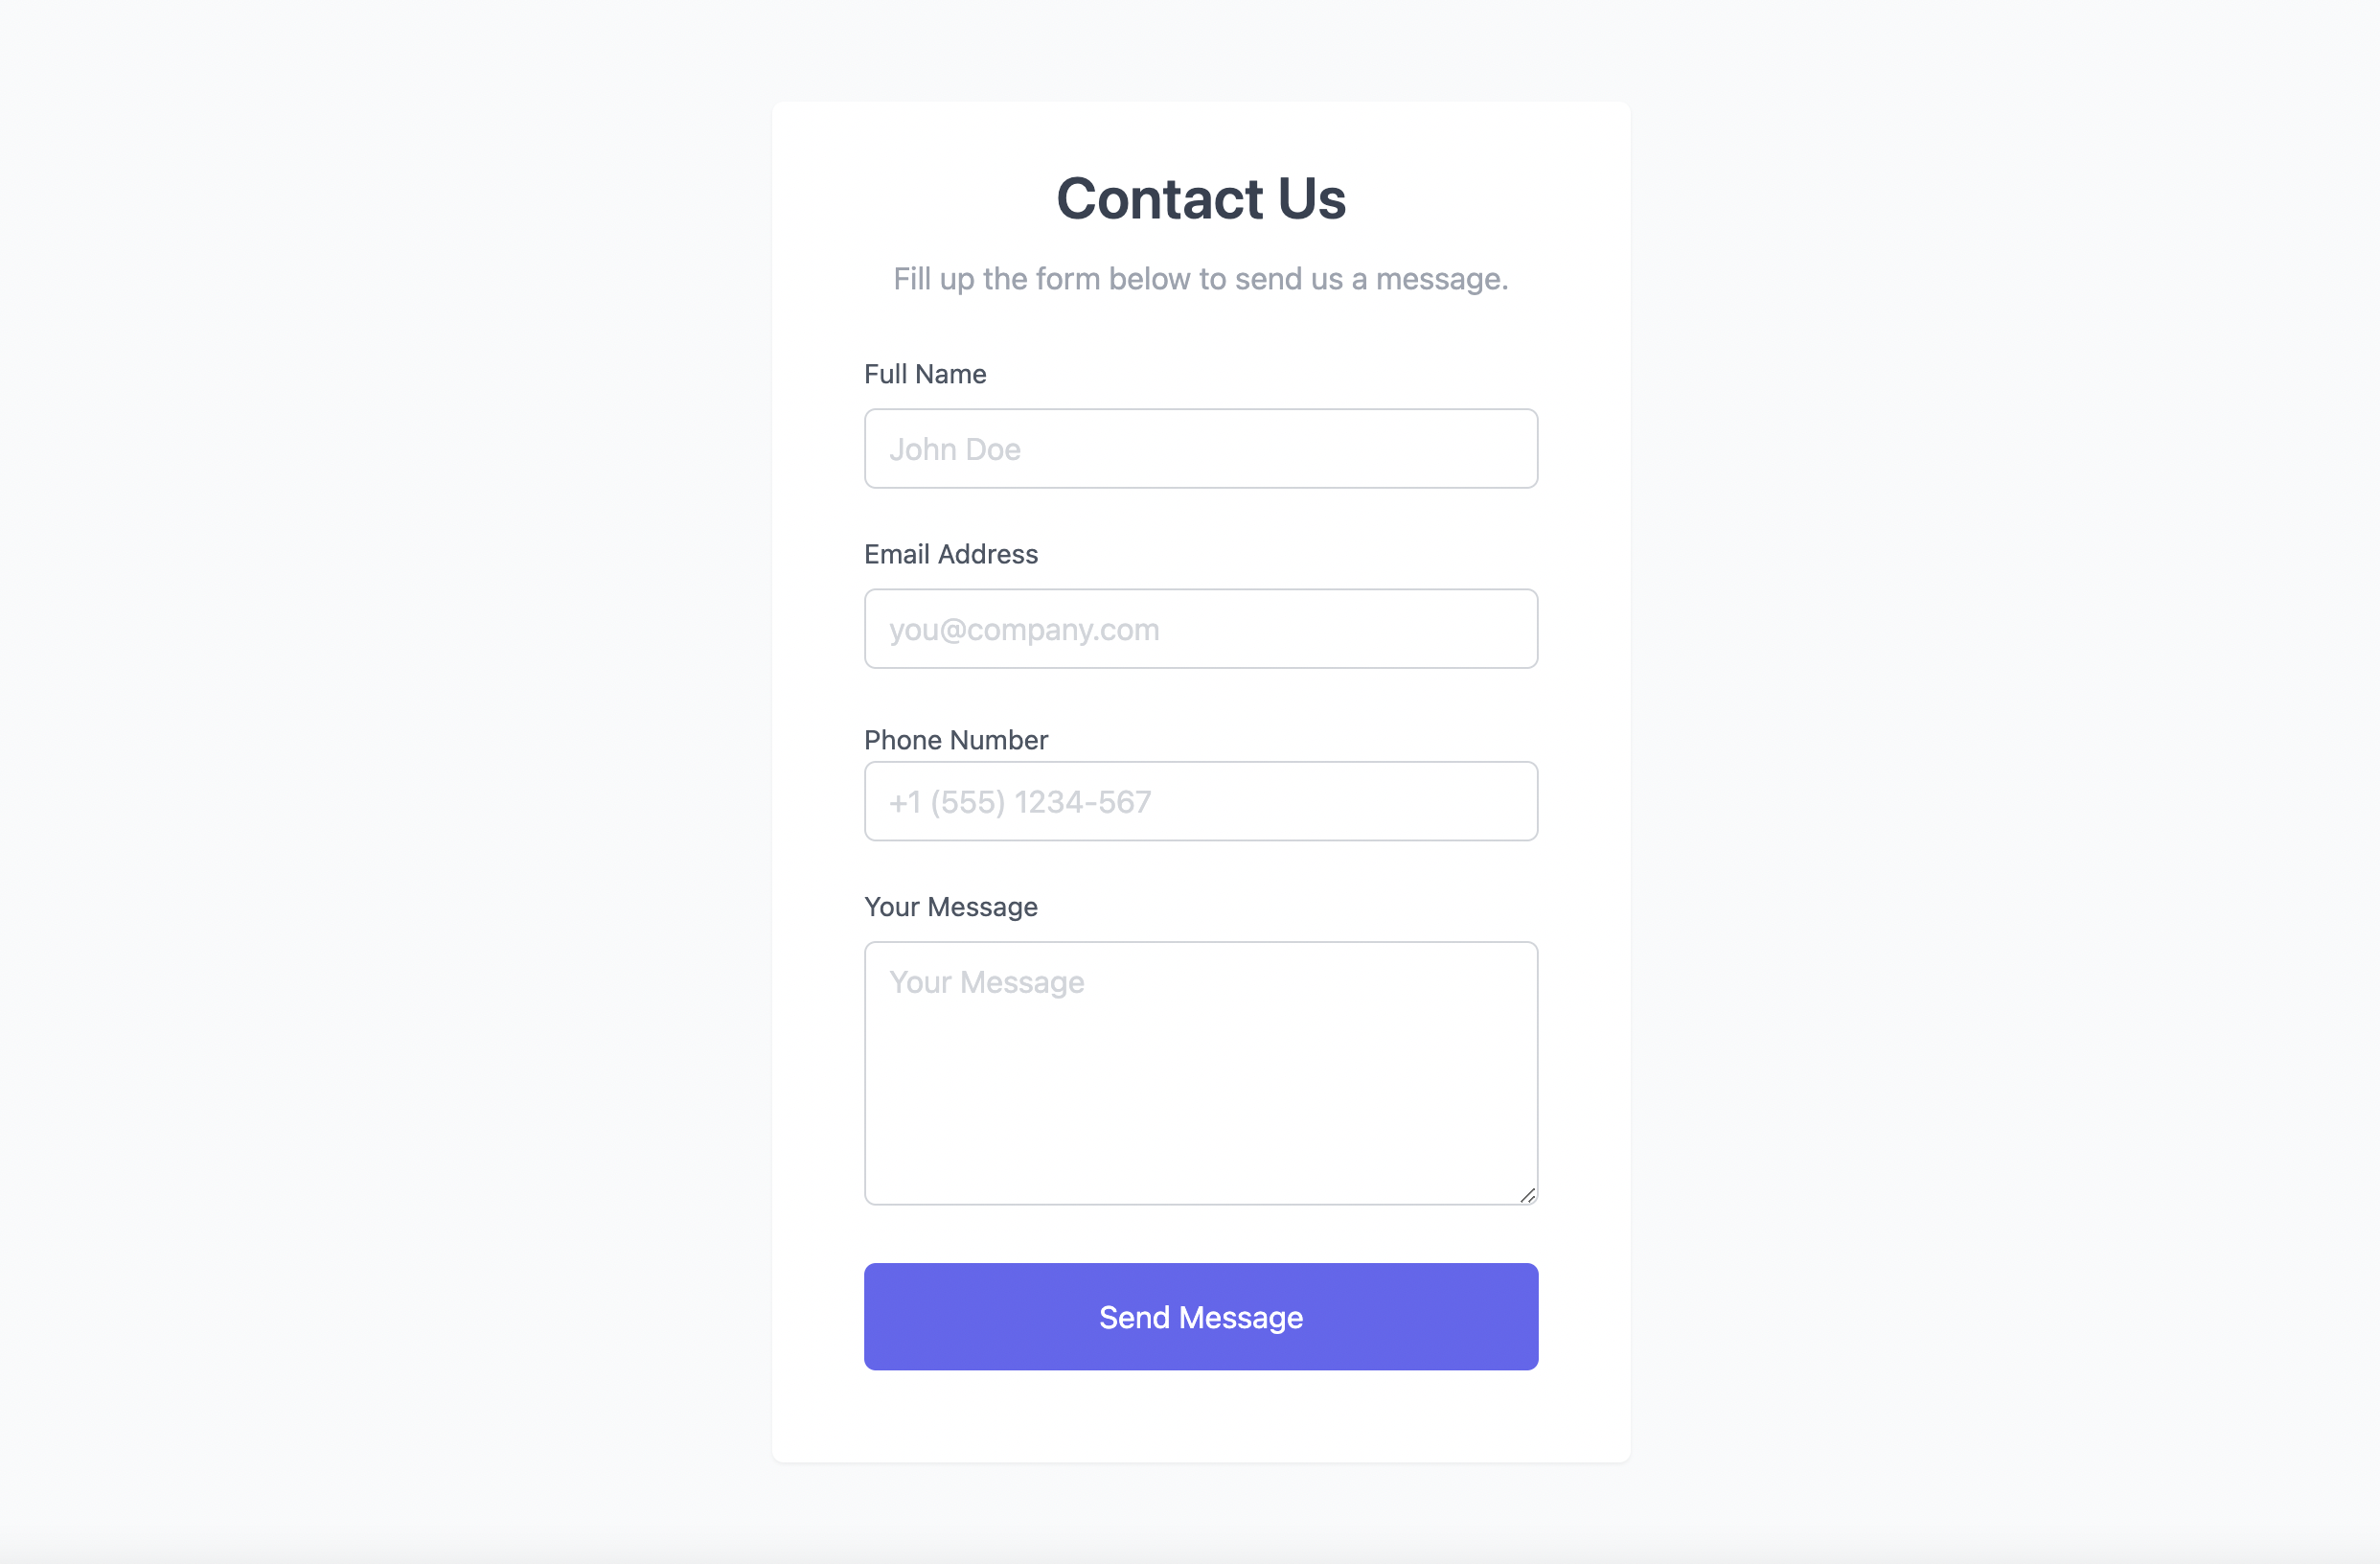
And here's the result styled with Tailwind CSS:
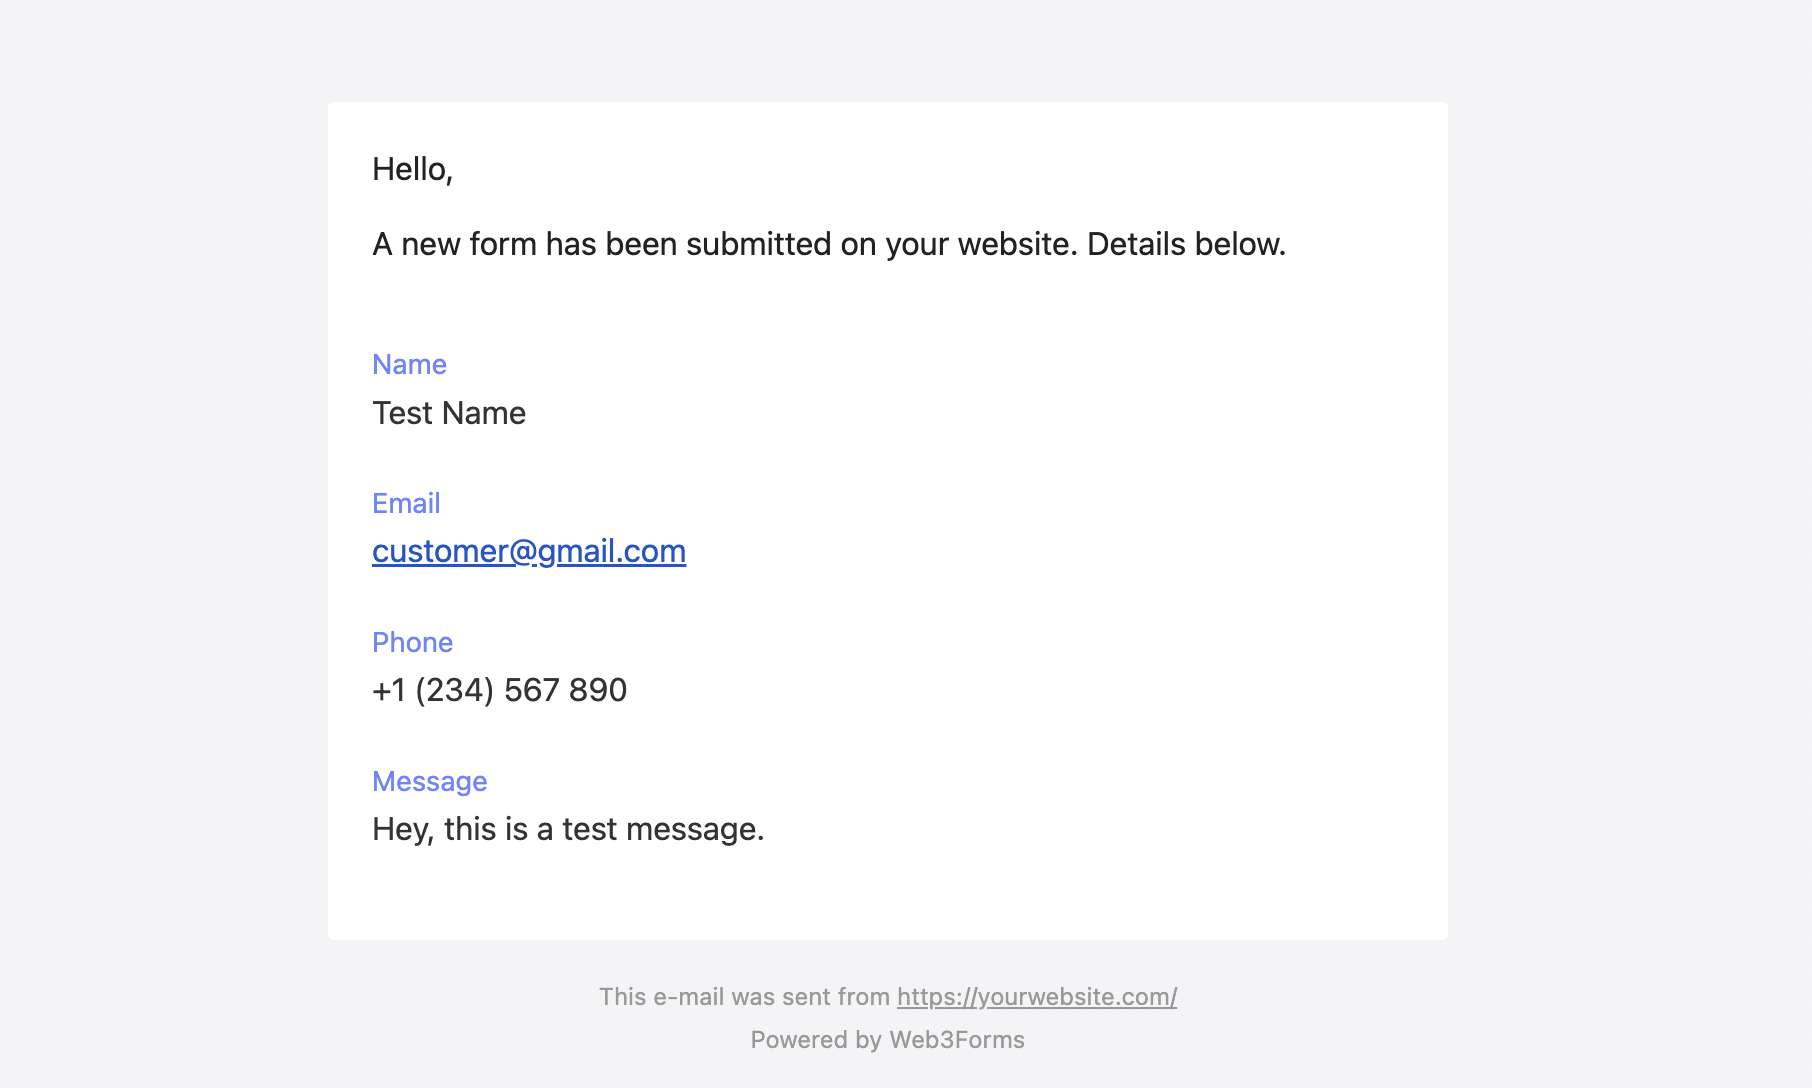
Now, submit this form and you will receive an email like this:
Done!
Woohoo, we did it. We just made a working contact form using JAMStack & API. Isn't it easy? Thanks to Web3Forms for providing such an incredible service.